A Step by Step Guide to Wearing Contact Lenses for the First Time
We can all agree when we say that contact lenses have become the norm in today’s society. When one visits the ophthalmologist and is given a prescription with corrective power, rarely can you find individuals who opt for glasses over contact lenses.
There are multiple advantages that contact lenses have over glasses. Firstly, when one wears contact lenses, one does not have to worry about marks on their face caused due to the nose bridge of the glasses. This is a proven thought among both men and women these days.
Contact lenses are highly preferred by sportsmen as well. When you choose contacts, you choose comfort.

A major, yet most common complaint people have with glasses, is their adaptation to different climates. Contacts do not fog up or give an unclear vision as soon as it starts raining. They provide the most natural and comfortable vision possible, unless of course if you choose to correct your power with laser therapy.
With so many advantages right before your eyes, how can a first timer resist wearing contacts? The few doubts that occur in your mind would be due to short-term discomfort or uneasiness.
Stepwise guide to wearing contacts for first-timers:
– Make sure all the items you need are within reach. This includes your new contacts, lens solution, some tissue, a good near vision mirror and a colored towel, just to be on the safer side.
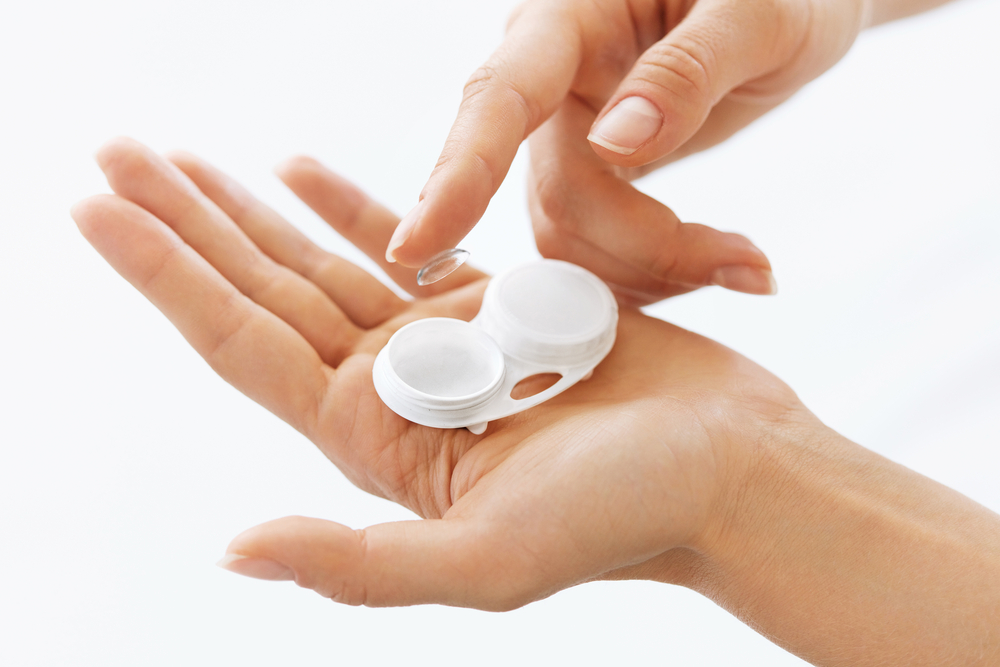
Take one of your lenses out of its case with your right index finger. Place it in the center of your left palm and gently pour 5-6 drops of lens solution over it. Also, place the colored towel across your lap.
– Ensure that you always know which lens you are holding, the right eye or the left eye. Use your right index finger to gently massage the inner concave portion of your lens to clean the lens and make it devoid of any protein or dirt particles.
– Once you have cleaned it to your satisfaction, gently pick up the lens with your right index and thumb fingers and drain the excess solution. In case you have long nails, you will have to be extra careful about furnishing scratches or cuts on your lenses as they are very delicate.
– Now that your lens is clean and dried, place it on the tip of your right index finger, with the concave portion facing you. While you’re doing this, you will understand the importance of rightly draining the excess lens solution. Too much of it will not let you balance the lens on your fingertip and too less will make it stick to your skin and in turn, make unnecessary marks on the front side of the lens.
– You will have to use your left thumb and index fingers to enlarge your left or right eye (assuming left here) and look directly into the mirror. Try to keep your cornea and pupil in the center and try to place the lens at the center.
– In case you blink before it is placed properly at the center, make use of the towel on your lap. If you find it in the towel, pick it up, and repeat the cleaning process again.
– No matter where you place the lens in your eye, once it has made its grip, it will move around and adjust to your cornea easily.
– After placing the lens in your eye, just close the lids and blink intentionally and slowly a few times. You will notice your vision getting clearer automatically.
You can then repeat the same procedure with the next eye lens.

