

Key Takeaways
Our Verdict
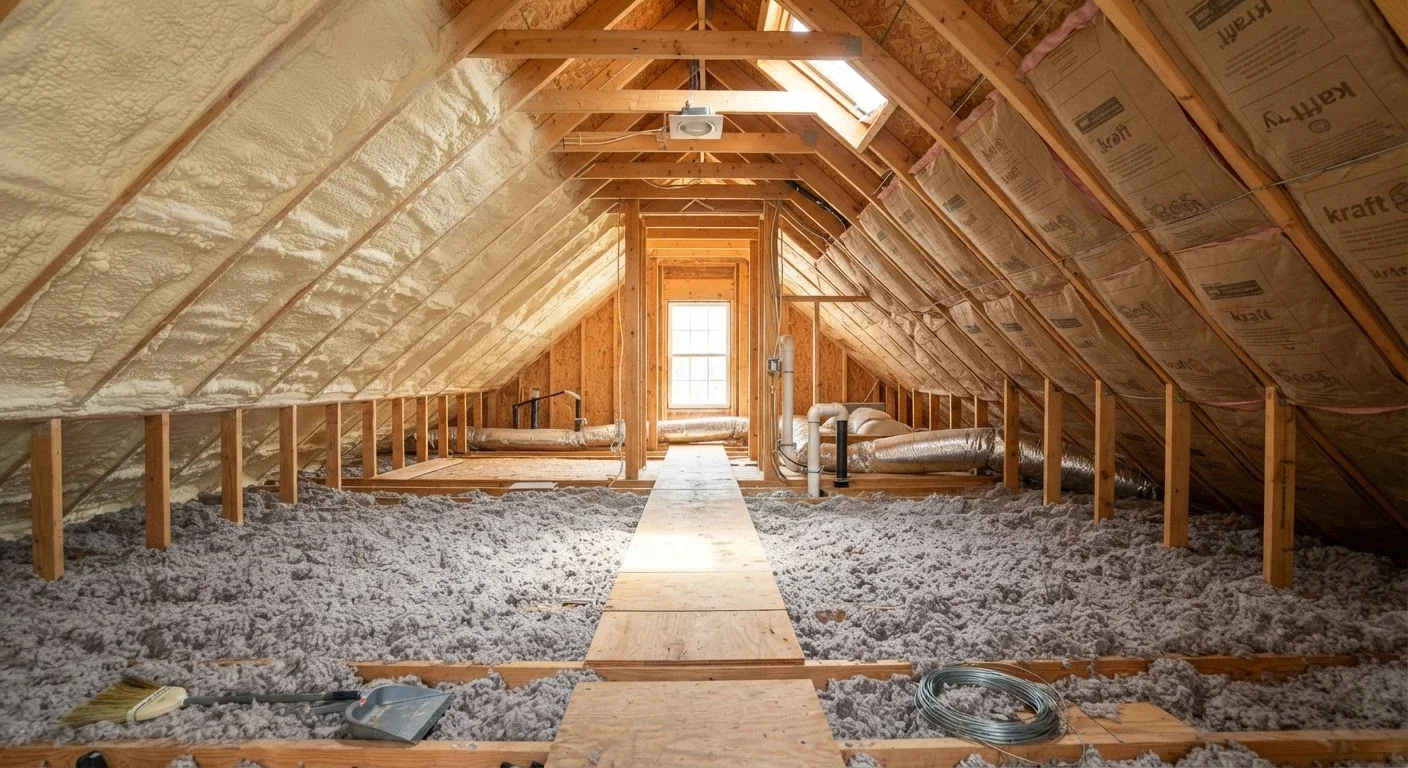
Each insulation type serves a distinct set of homeowner needs. Batts work well in straightforward, accessible attics for budget-conscious DIYers. Blown-in is the most practical solution for topping up existing insulation or filling irregular spaces. Spray foam offers superior performance in conditioned attics or when air sealing is the priority, but comes at a significantly higher cost.
| Best for | Recommended |
|---|---|
| Budget-conscious DIYers with open, joist-framed attics | Fiberglass or mineral wool batts |
| Homeowners adding insulation over existing material or in hard-to-reach areas | Blown-in (loose-fill) insulation |
| Those prioritizing maximum air sealing and R-value in conditioned attics | Spray foam insulation |
| Homeowners working within strict cost or time constraints | Blown-in insulation |
Why Attic Insulation Type Matters
The attic is one of the largest sources of heat loss in a typical home. According to the U.S. Department of Energy, a properly insulated and air-sealed attic can meaningfully reduce heating and cooling costs. But not all insulation materials perform the same way - and choosing the wrong type for your attic's layout can leave gaps that undermine your investment.
Three methods dominate the residential market: batt insulation, blown-in (loose-fill) insulation, and spray foam insulation. Each has a distinct R-value range, installation process, and cost profile. Understanding these trade-offs helps you make a confident, cost-effective decision.
| Batts | Blown-In (Loose-Fill) | Spray Foam | |
|---|---|---|---|
| Typical R-value per inch | R-3.1 to R-4.3 | R-2.2 to R-3.8 | R-3.7 to R-7.0 |
| DIY-friendly | Yes | Yes (with rented blower) | No - professional only |
| Air sealing ability | None on its own | Minimal | Excellent (closed-cell) |
| Works over existing insulation | Difficult | Yes - ideal | Not typically |
| Handles irregular spaces | Poorly | Very well | Very well |
| Relative installed cost | Low | Low to moderate | High |
| Moisture resistance | Moderate (mineral wool better) | Low-moderate | High (closed-cell) |
Batt Insulation: Accessible and DIY-Friendly
Batt insulation comes in pre-cut panels of fiberglass or mineral wool sized to fit standard joist spacing (typically 16 or 24 inches on center). It's the most widely available type and can be installed without special equipment, making it the default choice for homeowners tackling attic work themselves.
Strengths
- No specialized tools or rental equipment required
- Easy to cut to length with a utility knife and straightedge
- Mineral wool batts are naturally fire-resistant and moisture-tolerant
- Clear R-value labeling helps you hit code targets
Limitations
- Performance drops significantly if batts are compressed, torn, or improperly fitted around obstacles
- Irregular joist spacing, pipes, or electrical runs create tricky gaps
- Batts alone do not air-seal - separate caulking or foam sealant is needed at penetrations
For attics with consistent framing and minimal obstructions, batts remain a practical, cost-controlled approach. Always wear an N95 respirator and eye protection when handling fiberglass batts.
Blown-In Insulation: Flexible Coverage for Complex Spaces
Blown-in insulation - also called loose-fill - uses a hose-fed machine to distribute small particles of fiberglass, cellulose, or mineral wool across the attic floor. Many home improvement retailers loan blower machines with a minimum purchase of material, making this more accessible than it might appear.
Strengths
- Conforms naturally around joists, pipes, and obstructions without cutting
- Ideal for adding depth over existing insulation
- Cellulose is made from recycled content and is treated for fire resistance
- Generally faster to install over large areas than batts
Limitations
- Requires a blower machine - typically a rental or loan
- Cellulose can settle over time, slightly reducing effective R-value
- Moisture intrusion can cause clumping; attic ventilation must be adequate
- Depth rulers or markers are needed to hit target R-value uniformly
Mark Your Target Depth Before You Start
Before running the blower, cut several cardboard rulers or use pre-marked wooden stakes and staple them between joists every few feet across the attic. This gives you a clear visual guide as material accumulates, helping you achieve consistent depth - and consistent R-value - without over- or under-applying. Most insulation bags also include a coverage chart that specifies depth for a given R-value.
For attics being brought up to current energy code requirements - commonly R-38 to R-60 in most U.S. climate zones - blown-in is often the fastest way to add significant depth without disturbing existing material.
Spray Foam Insulation: High Performance, Higher Cost
Spray foam comes in two forms: open-cell and closed-cell. In attic applications, closed-cell spray foam is typically applied to the underside of roof decking in conditioned (unvented) attic assemblies, rather than the attic floor. Open-cell foam is more affordable and vapor-permeable but offers a lower R-value per inch.
Strengths
- Closed-cell foam achieves R-6 to R-7 per inch - the highest of any common insulation type
- Creates a continuous air barrier, eliminating the need for separate air sealing
- Rigid when cured, adding minor structural support to roof decking
- Excellent moisture resistance with closed-cell formulas
Limitations
- Significantly higher material and labor cost than batts or blown-in
- Must be installed by a trained professional - improper mixing ratios create off-gassing and performance failures
- Requires adequate ventilation during and after application
- Not appropriate for standard vented attic floor applications in most cases
Spray foam makes the most sense for conditioned attic spaces where HVAC equipment or ductwork is located in the attic, or where air leakage is a diagnosed and documented problem.
Installation, Permits, and Safety Considerations
Before starting any attic insulation project, check with your local building department. Many jurisdictions require a permit for new insulation work, particularly when the project involves spray foam or changes to the attic's venting configuration. Inspections may be required before covering any work.
For all three types, prep work is equally important as the insulation itself:
- Air seal first: Use canned spray foam or acoustical sealant to close gaps around top plates, electrical boxes, plumbing penetrations, and recessed light fixtures before laying any insulation.
- Protect ventilation pathways: Install baffles (also called rafter vents) along the eaves to maintain airflow from soffit vents to the ridge - regardless of insulation type.
- Address moisture: Fix any roof leaks or condensation issues before insulating. Trapping moisture behind insulation accelerates wood decay.
DIY installation of batts and blown-in is feasible for most capable homeowners. Spray foam, however, should be handled by a licensed contractor due to the chemical hazards and precision required during mixing and application.
This article provides general educational information about attic insulation methods. Always verify local building codes, permit requirements, and safety standards with your local authority having jurisdiction before beginning any home improvement project.