

Key Takeaways
Understanding the Damage Before You Start
Not all drywall damage is the same, and choosing the wrong repair method is the most common reason a patch looks worse than the original crack. Before buying materials, assess what you're dealing with.
Hairline cracks (under 1/8 inch wide) are usually surface-level and caused by settling or seasonal humidity changes. They rarely indicate structural problems but will reappear if not properly filled and sealed.
Small holes (1-4 inches) from doorknobs, anchors, or minor impacts go through the paper face and sometimes the gypsum core. These need a backing solution or a self-adhesive mesh patch before compound is applied.
Large holes (4 inches and above) require a cut-and-replace approach-a new piece of drywall anchored to backing boards spans the gap and is taped and feathered like a new installation.
A recurring crack in the same spot-especially above doorframes or along ceiling corners-may signal settling or moisture intrusion. If you notice that pattern, review our weekend home audit guide before patching, so you're not covering up a deeper issue.
What you will need
Tools and Materials You'll Need
Having everything on hand before you start prevents mid-project trips to the hardware store. The tools listed below cover repairs across all three damage levels-skip what doesn't apply to your specific situation.
Putty knife or drywall knife (6-inch)
Spreads and smooths joint compound over cracks and patches.
Joint compound (pre-mixed, all-purpose)
Fills cracks and builds up patch surfaces in multiple thin coats.
Self-adhesive fiberglass mesh patch
Bridges small to medium holes before compound is applied.
Drywall saw or utility knife
Cuts out damaged sections cleanly for large-hole repairs.
Drywall screws and 1×3 or 2×4 backing boards
Creates a structural anchor for new drywall in large-hole repairs.
Sandpaper (120-grit and 220-grit)
Smooths dried compound to a flush, feathered surface.
Drywall primer (PVA-based)
Seals the porous compound surface so paint adheres evenly.
Drywall tape (paper or fiberglass)
Reinforces seams and larger patches to prevent future cracking.
Step-by-Step Repair Instructions
Follow the steps below in sequence. Steps 1-3 apply to all repair sizes; the later steps branch by damage level. Read through completely before starting so you know which materials to have ready.
Clean and Prep the Damaged Area
Remove any loose drywall paper, crumbling gypsum, or old paint flaking around the damage. Use a utility knife to lightly score along the edges of cracks to create a clean channel that compound can grip. For holes, trim any ragged edges so the opening is as clean as possible. Wipe the area with a dry cloth to remove dust.
Apply Mesh Patch or Backing (Medium and Large Holes)
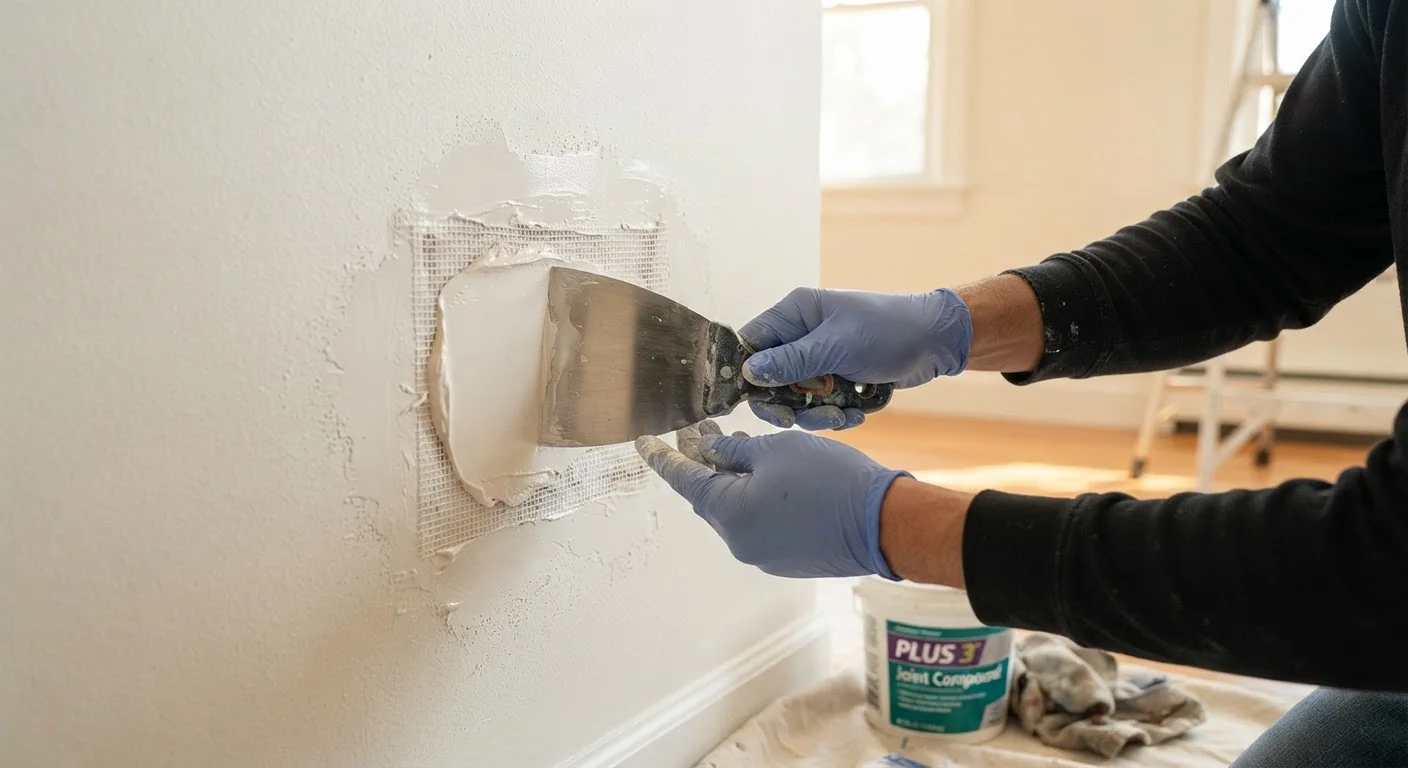
For small-to-medium holes (1-4 inches): Center a self-adhesive mesh patch over the hole and press firmly. Make sure all edges are flat against the wall with no lifting corners.
For large holes (over 4 inches): Cut the damaged section into a clean square or rectangle using a drywall saw. Slide 1×3 or 2×4 backing boards into the opening and secure them to the existing drywall on each side with drywall screws. Cut a new piece of drywall to fit the opening, attach it to the backing boards with screws, then apply drywall tape along all four seams before compounding.
Apply the First Coat of Joint Compound
Load your 6-inch knife with a modest amount of pre-mixed joint compound. For cracks, press compound firmly into the crack and draw the knife at a low angle to fill the channel, then feather the edges outward an inch or two on each side. For patches, spread compound over the mesh or seam tape in a thin, even layer-covering the patch fully but keeping the layer as thin as possible. Let this coat dry completely, which typically takes 8-24 hours depending on humidity and temperature.
Apply Second and Third Coats, Feathering Each Time
Once the first coat is fully dry, sand lightly with 120-grit paper to knock down any ridges, wipe away dust, and apply a second coat using a wider knife (10-12 inch if available). Feather the edges several inches beyond the first coat. Repeat with a third, very thin skim coat once the second is dry. Each successive coat should be wider and thinner than the last, blending gradually into the surrounding wall surface.
Sand, Prime, and Paint
After the final coat dries completely, sand the entire patch area starting with 120-grit, then finishing with 220-grit for a smooth surface. Run your hand across the wall to feel for any high spots. Apply a PVA drywall primer, let it dry per the manufacturer's instructions, then apply your topcoat paint. For best color matching, use a roller on the patched area and blend into the surrounding wall while the paint is still wet.
Thin Coats Are the Key to Success
Applying joint compound too thickly in a single pass is the most common cause of cracking, sagging, and uneven drying. Three thin coats almost always produce a better result than one thick coat. Patience between coats pays dividends in the finish.
Finishing for a Seamless, Paint-Ready Surface
The difference between a noticeable patch and an invisible repair comes down to finish work. Once your final coat of compound is fully dry (no cool or dark spots to the touch), sand the area starting with 120-grit sandpaper, then finish with 220-grit. The goal is a perfectly flat surface that blends into the surrounding wall-not a sunken or raised area.
Wipe away all dust with a slightly damp cloth and let the wall dry before priming. Skipping primer is one of the most common DIY mistakes: joint compound is highly porous and will absorb paint unevenly, leaving a dull spot called flashing even after multiple coats of paint. Apply a drywall-specific primer or a PVA primer sealer, let it dry fully, then paint to match.
Don't Skip the Primer Before Painting
Joint compound absorbs paint differently than the surrounding wall surface, causing a visible dull patch called flashing even under multiple coats. Priming the repaired area before painting is non-negotiable for a truly invisible result. Use a drywall-specific or PVA primer rather than a standard wall primer for the best seal.