

Key Takeaways
Why Annual Deck Maintenance Pays for Itself
A deck exposed to sun, rain, freeze-thaw cycles, and foot traffic degrades steadily - but the damage is rarely dramatic until it's expensive. Wood fibers absorb moisture, expand and contract with temperature swings, and become vulnerable to fungal rot and insect damage when protective finishes fail. The good news: a consistent annual routine keeps those forces in check at a fraction of the cost of replacement.
Think of deck maintenance the way you think of seasonal home checks. Just as the weekend audit approach helps you catch small problems before they escalate, a structured deck inspection and maintenance schedule prevents minor surface wear from becoming structural failure.
Step 1 - Cleaning: The Non-Negotiable Foundation
Every maintenance cycle starts with a thorough cleaning. Dirt, algae, mildew, and tannin stains don't just look bad - they trap moisture against wood fibers and accelerate decay. Skipping this step before sealing locks contaminants under the finish, causing premature peeling.
For wood decks:
- Remove all furniture and sweep off loose debris.
- Apply a deck cleaner formulated for your wood type (pressure-treated pine, cedar, and redwood each respond differently to pH levels).
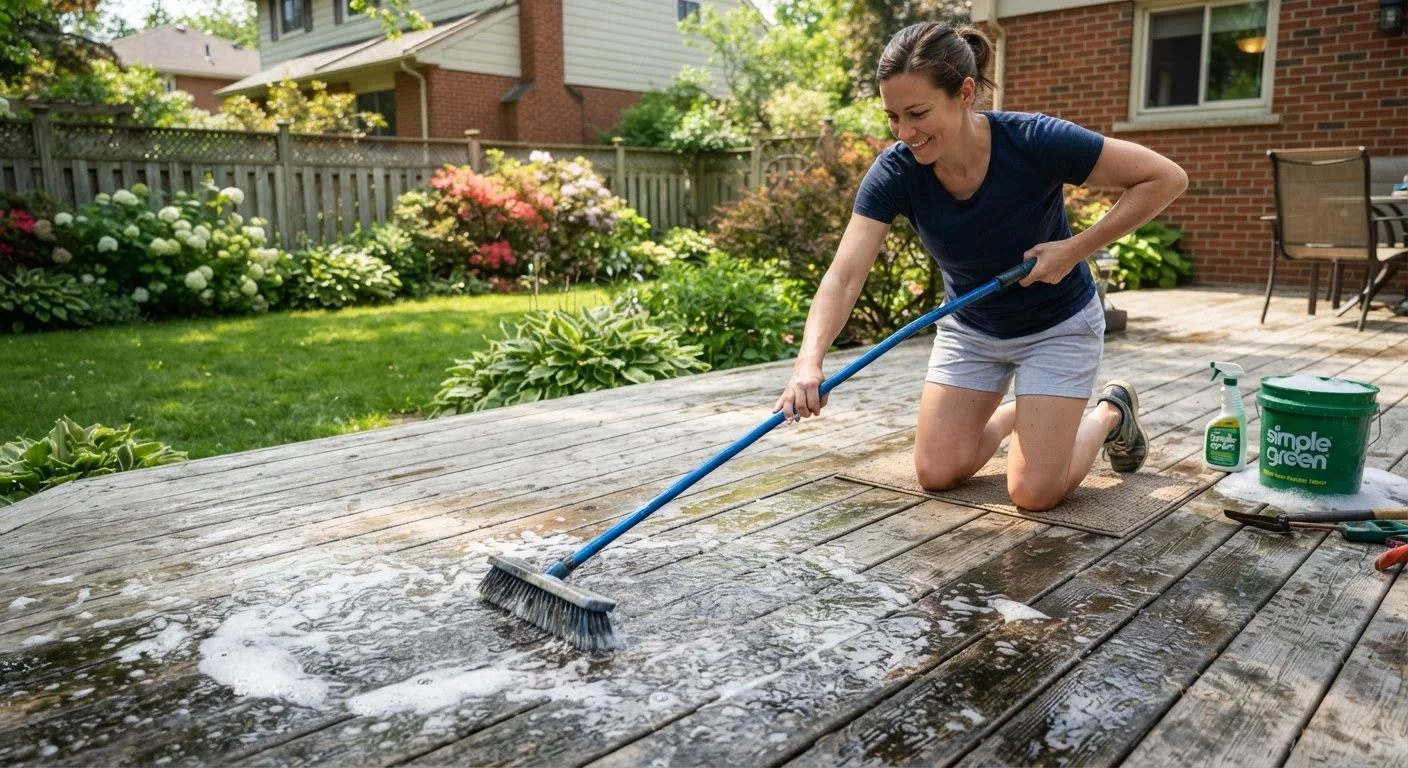
- Scrub with a stiff-bristle brush, working with the wood grain.
- Rinse thoroughly with a garden hose or low-pressure washer setting. Limit pressure washer use to under 1,500 PSI and keep the nozzle at least 12 inches from the surface to avoid raising the wood grain.
For composite decking:
Composite boards don't need sealing, but mildew and pollen accumulate in the grooves. Use a composite-specific cleaner and a soft brush. Avoid harsh solvents or high-pressure washing, which can damage the cap layer that protects composite boards from staining and fading.
Allow the deck to dry completely - typically 48 to 72 hours in dry weather - before moving to the next step.
Step 2 - Sealing and Staining Wood Decks
Once dry, wood decks need a protective finish to repel water and UV damage. The two main options are clear sealers (which preserve natural wood color) and semi-transparent or solid stains (which add color while providing protection). Solid stains last longer but obscure the wood grain; clear sealers show off the wood but need more frequent reapplication.
Choose a finish that matches your maintenance commitment, not just your preferred look.
Solid stains protect longer (3-5 years) but require stripping before reapplication; clear sealers are easier to reapply annually but offer less UV protection. Matching the product to your schedule prevents premature failure.
Apply sealer in moderate temperatures, avoiding direct midday sun.
High heat causes water-based sealers to dry too quickly, leaving lap marks and reducing penetration. Cooler, overcast mornings allow the product to soak into wood fibers evenly.
Sand lightly between old and new finish coats if the surface has raised grain.
Pressure washing and weathering raise wood fibers, creating a rough surface that holds dirt and causes uneven finish absorption. A light 80-grit sanding restores smoothness and improves adhesion.
Treat end grain and cut board ends with additional sealer coats.
End grain absorbs moisture at a rate roughly ten times faster than face grain, making it the most common entry point for rot. Extra sealer at these points dramatically extends board life.
Test whether your existing finish needs refreshing: sprinkle water on the surface. If it beads up, the sealer is still working. If it soaks in within 30 seconds, it's time to reapply.
Step 3 - Spotting Rot Before It Spreads
Rot is the most serious threat to a wood deck's structural integrity, and it's deceptive - surface boards can look sound while the joists and ledger board beneath are compromised. Make rot inspection a dedicated part of your annual routine.
Rot vs. Surface Staining: Know the Difference
Dark staining on wood doesn't always mean rot - tannins, iron from fasteners, and algae all cause discoloration that looks alarming but is purely cosmetic. The screwdriver probe is the reliable test: cosmetic stains feel hard underfoot, while rot yields under pressure. If you're uncertain after probing, a licensed contractor or home inspector can assess structural integrity without committing you to a full repair.
How to inspect effectively:
- Probe with a screwdriver: Press the tip firmly into boards, particularly at ends, around fasteners, and where boards meet the house. Healthy wood resists; punky or rotten wood gives way easily.
- Check the ledger board: This is the board that attaches the deck to your house framing. Water trapped here is the leading cause of deck collapses. Look for discoloration, soft spots, and gaps in flashing.
- Inspect posts and footings: Ground-level posts are especially vulnerable. Look for darkening, mushroom-like growth, or soil contact that bypasses concrete footings.
- Look underneath: Joist ends where they sit in hangers are common rot hotspots. Bring a flashlight and probe systematically.
Isolated soft boards can often be replaced individually. Widespread joist rot or ledger damage is a structural issue that warrants a licensed contractor assessment - do not delay this evaluation, as structural deck failure is a documented safety hazard.
Building a Maintenance Calendar That Sticks
Consistency matters more than perfection. A simple schedule reduces the chance that any step gets forgotten:
- Spring: Full inspection including rot probe, hardware check (look for corroded screws and popped fasteners), and cleaning.
- Early summer (after drying): Apply sealer or stain if the water-bead test indicates it's needed.
- Fall: Clear leaves promptly - decomposing organic matter accelerates moisture damage and staining. Check that drainage gaps between boards are clear.
- After major storms: Quick visual check for impact damage, standing water, or debris caught beneath the deck.
The discipline of small, regular actions is the same principle that makes seasonal garden maintenance effective - timing and consistency compound the benefit over years.
Mark Your Maintenance Date on the Deck Itself
Write the year of your last seal or stain application in pencil on the underside of a board near the stairs - somewhere protected from rain. This gives you an instant reference point each spring without digging through old receipts or trying to recall when the work was done.