

Key Takeaways
Why Mulching Gets Underestimated
Mulch often gets treated as a finishing touch - something you spread around beds to make the garden look tidy. In practice, it does considerably more. A correctly applied mulch layer moderates soil temperature, slows moisture evaporation, limits weed germination, and gradually feeds the soil as it breaks down. Done poorly, however, mulch can trap excess moisture against stems, host disease, or simply fail to deliver any of those benefits.
Understanding the mechanics behind mulching - not just the habit of doing it - is what separates results from effort. This guide covers the three variables that matter most: depth, material, and timing.
For gardeners building out a broader routine, pairing mulching with a solid watering plan pays dividends. See our guide to garden watering schedules for how to coordinate both effectively.
Best Practices for Effective Mulching
The following practices address the most common mulching mistakes and give you a reliable framework for any planting area - flower beds, vegetable gardens, or around trees and shrubs.
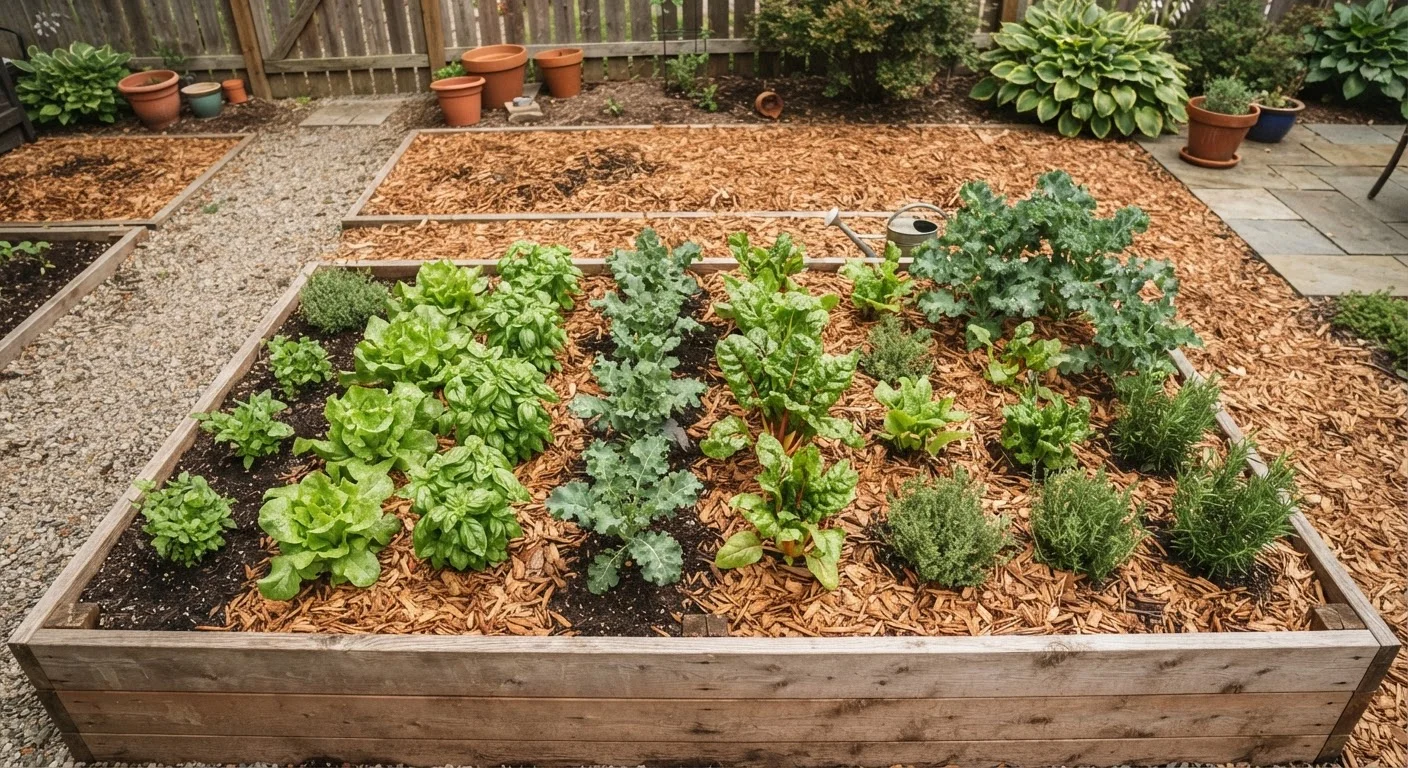
Apply mulch to a depth of 2-4 inches across planting beds
This range is thick enough to block most weed seeds from germinating and slow moisture loss from the soil surface, but shallow enough to allow air and water to reach roots. Shallower coverage loses effectiveness quickly; deeper piles can prevent rainfall from penetrating and may promote anaerobic conditions near the soil.
Keep mulch pulled back 2-3 inches from plant stems, trunks, and crowns
Mulch piled directly against stems holds moisture and warmth against bark tissue, creating conditions favorable to fungal disease and pest activity. This is the root cause of the common 'volcano mulching' problem seen around street trees, where mulch is mounded high against the trunk.
Loosen or rake existing mulch before adding a fresh layer
Old mulch can mat together over time, forming a surface that sheds water rather than allowing it to penetrate. Breaking up the existing layer before topping it up restores permeability and prevents the compacted mat from becoming a barrier.
Match organic mulch type to the plant community and decomposition needs
Fine-textured mulches like shredded leaves or compost break down faster and are better suited to vegetable beds or annual plantings where quick organic matter turnover is beneficial. Coarser materials like wood chips last longer and suit permanent plantings where you want sustained coverage without frequent replenishment.
Avoid using fresh wood chips directly around edible crops
Uncomposted wood chips high in carbon can temporarily tie up soil nitrogen as they decompose - a process called nitrogen immobilization. While this is usually a surface effect and resolves over time, it can slow growth in shallow-rooted annual vegetables when chips are mixed into soil rather than left as a top layer.
Choosing the Right Mulch Material
Not all mulches perform the same way, and the right choice depends on your goals, your soil, and what's growing in the bed.
25-50%
Reduction in soil moisture loss with mulch
Research from university extension programs consistently shows mulched soil retains significantly more moisture than bare soil under equivalent conditions.
2-4 in
Recommended mulch depth for most planting beds
This range is widely cited by cooperative extension horticulturalists as the effective window for weed suppression without impeding water infiltration.
10°F
Soil temperature stabilization benefit of mulch
Mulched soil can remain up to 10°F cooler than bare soil in summer, reducing heat stress on shallow roots during peak growing season.
Organic mulches - wood chips, shredded bark, straw, leaf mold, and compost - decompose over time, adding organic matter that improves soil structure and supports microbial life. Wood chips are particularly well-suited to shrub borders and trees. Straw works well in vegetable beds because it's lightweight and easy to move at planting time. Shredded leaves are an inexpensive option that many gardeners overlook. If you're already composting at home, finished compost can double as mulch - see our composting guide for how to use it effectively.
Inorganic mulches - gravel, crushed stone, rubber chips - don't break down and won't improve soil over time. They can be appropriate in specific situations (rock gardens, paths, drainage areas) but are generally less beneficial for planting beds. Be cautious about rubber mulch in particular: research on its chemical leaching into soil is still developing, and it can retain heat at levels that stress plant roots in hot climates.
Free Mulch Is Often Available Locally
Many municipal tree services and utility companies chip tree trimmings and offer the material free to homeowners - sometimes delivered directly. Arborist wood chips are coarser than bagged products but excellent around trees and shrubs. Check with your local parks department or search for community wood chip programs in your area.
When selecting mulch, also consider the soil's current needs. Beds that already struggle with nutrient deficiencies benefit from organics that decompose quickly. For soils in good health, a slower-decomposing wood chip provides longer-lasting coverage. Our article on organic vs. synthetic fertilizers explores how soil inputs interact, which pairs well with a mulching strategy.
Timing Your Mulch Applications
When you mulch matters nearly as much as how you do it.
- Spring: Wait until soil has warmed before applying mulch. Mulching too early in cold soil delays warming and can slow root activity in spring-planted annuals and vegetables. A general indicator: when daytime temperatures are consistently above 50°F (10°C) and soil feels workable, mulching is appropriate.
- Fall: Apply mulch after the ground begins to cool but before the first hard frost. The goal is to insulate against temperature swings - not to keep soil warm. Fall mulching is especially valuable for protecting perennial roots and bulbs through freeze-thaw cycles.
- Mid-season top-ups: Organic mulch breaks down throughout the season. Checking depth in midsummer and adding a thin layer as needed keeps coverage effective without over-applying.
Mulching fits naturally into a broader soil care strategy. If you're just starting out in the garden, our beginner's gardening guide covers how mulching connects to site selection, soil prep, and plant care.