

Key Takeaways
Why Composting Pays Off for Home Gardeners
Compost does three things that packaged soil amendments rarely accomplish together: it feeds soil biology, improves physical structure, and buffers pH - all from materials you would otherwise throw away. Regular compost additions increase the population of beneficial bacteria, fungi, and earthworms that make nutrients available to plants over time rather than in one concentrated burst. This is a meaningfully different result from synthetic fertilizers, which deliver nutrients quickly but do nothing for long-term soil health.
For budget-conscious gardeners, the savings add up quickly. Bagged compost and soil conditioners carry real costs, particularly if you are amending raised beds or large planting areas each season. A working home compost system turns that recurring expense into a free, renewable resource. It also reduces household waste headed to the landfill, where organic material decomposes anaerobically and produces methane rather than the carbon dioxide produced in aerobic composting.
Many gardeners discover that composting also clarifies other decisions - for example, understanding that finished compost can function similarly to mulch when applied as a top dressing, though the two serve slightly different roles. Our guide to mulching effectively covers how to use both materials in combination. You may also want to check our article on common gardening myths - several relate directly to soil amendment practices that composting can replace.
What you will need
What to Add - and What to Keep Out
A diverse mix of inputs produces richer compost than a single material repeated. On the greens side, vegetable and fruit trimmings, coffee grounds and paper filters, tea bags (remove staples), fresh plant clippings, and eggshells all work well. Eggshells decompose slowly but contribute calcium and help buffer acidity. On the browns side, dry autumn leaves are ideal and plentiful - shred them to prevent matting. Corrugated cardboard torn into pieces, plain paper, straw, and wood chips round out a solid carbon base.
Never Compost These Materials
Avoid adding meat, fish, bones, dairy products, fats, or oils to a home compost pile. These attract pests, create serious odor problems, and do not break down safely in a standard backyard system. Pet waste and diseased plant material should also be excluded, as they can introduce pathogens into finished compost used near edible plants.
A few less-obvious materials are worth knowing about: dryer lint from natural-fiber laundry, hair clippings, and nail clippings are all compostable. Woody prunings from shrubs can go in if chipped or run through a shredder; left whole, they take years to break down. Newspaper printed with soy-based inks is safe; glossy or heavily coated paper is best avoided.
Speed Things Up With a Simple Trick
Chopping or shredding materials before adding them to the pile dramatically increases the surface area available to microbes, cutting decomposition time nearly in half. Run a lawn mower over leaves or use kitchen shears on vegetable scraps before tossing them in.
Setting Up and Managing Your System
The steps below walk through the full process from site selection through applying finished compost. Before you begin, gather the tools and materials listed here:
Compost bin or designated pile area
Contains materials, retains heat, and keeps the pile tidy; a 3×3×3 ft minimum volume is widely considered effective.
Garden fork or compost turning tool
Used to aerate and mix the pile, which speeds decomposition and prevents odor.
Kitchen collection container with lid
Holds food scraps at the counter or under the sink before transferring them to the outdoor pile.
Garden hose or watering can
Used to moisten dry materials so the pile maintains the damp-sponge consistency microbes need.
Compost thermometer
Measures internal pile temperature to confirm active decomposition (ideally 130-160°F) and track progress.
Choose your composting method and location
Decide whether you will use an open pile, a DIY three-bin system, or a single enclosed bin. Open piles suit large yards with ample material; enclosed bins work better in smaller spaces and help deter pests. Place your system in a partially shaded spot with good drainage - too much direct sun dries the pile out quickly, while standing water creates anaerobic conditions.
Understand the browns-to-greens ratio
Successful composting depends on balancing carbon-rich 'browns' (dry leaves, cardboard, straw, paper) with nitrogen-rich 'greens' (vegetable scraps, fresh grass clippings, coffee grounds). A commonly used guideline is roughly three parts browns to one part greens by volume. Too many greens produces a slimy, smelly pile; too many browns slows decomposition significantly. Neither ratio needs to be exact - observe and adjust as you go.
Build your first layer and start adding materials
Start with a 4-6 inch base layer of coarse browns such as wood chips or torn cardboard to allow air to circulate from the bottom. Add a 2-3 inch layer of greens on top, then cover with another layer of browns. Continue this layering pattern as you accumulate materials. Chop or shred inputs when possible to accelerate breakdown.
Maintain moisture and aeration
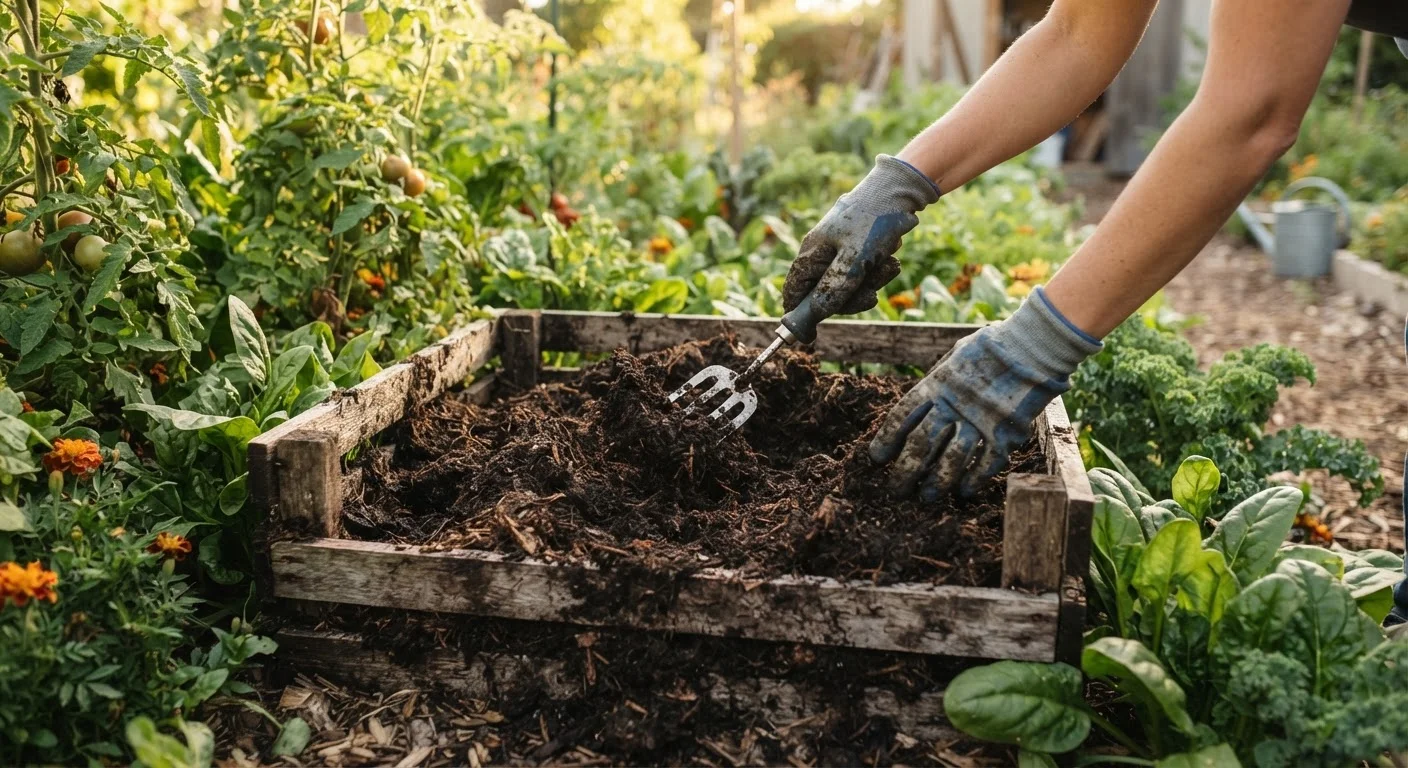
The pile should feel like a wrung-out sponge - damp throughout but not dripping. During dry weather, add water with a hose until moisture reaches the center. Turn the pile every one to two weeks using a garden fork, moving material from the outside edges into the center where temperatures are highest. More frequent turning means faster results.
Recognize when compost is finished
Finished compost is dark brown, crumbly, and smells earthy - similar to forest floor soil. Original materials should no longer be recognizable. If you see identifiable scraps, the pile needs more time or another turning. Move finished material to one side of the bin and continue adding fresh inputs to the other side for a continuous harvest.
Apply finished compost to your garden
Work 1-3 inches of finished compost into garden beds before planting season to improve soil structure, water retention, and microbial activity. Use it as a top dressing around established plants by spreading a half-inch layer around the base without touching stems. Compost can also be blended into potting mix - a common starting point is about 20-25% compost by volume. For vegetables, applying compost at bed preparation time delivers the most benefit, as described in our complete vegetable gardening guide.
Wet Piles Can Go Anaerobic
A compost pile that stays consistently soggy loses oxygen, causing anaerobic bacteria to take over and produce foul-smelling hydrogen sulfide. If your pile smells like rotten eggs, stop adding greens, add a thick layer of dry browns, and turn the pile to reintroduce airflow. Covering the pile during heavy rain prevents waterlogging.
For gardeners working with limited outdoor space, the same principles apply to smaller-scale approaches such as worm bins (vermicomposting) or bokashi fermentation systems. Finished worm castings are particularly concentrated and work well as a potting mix ingredient - relevant if you grow plants in containers. See our container gardening overview for how soil quality affects container plant performance.