

Key Takeaways
Grout Cracks Are a Symptom, Not the Problem
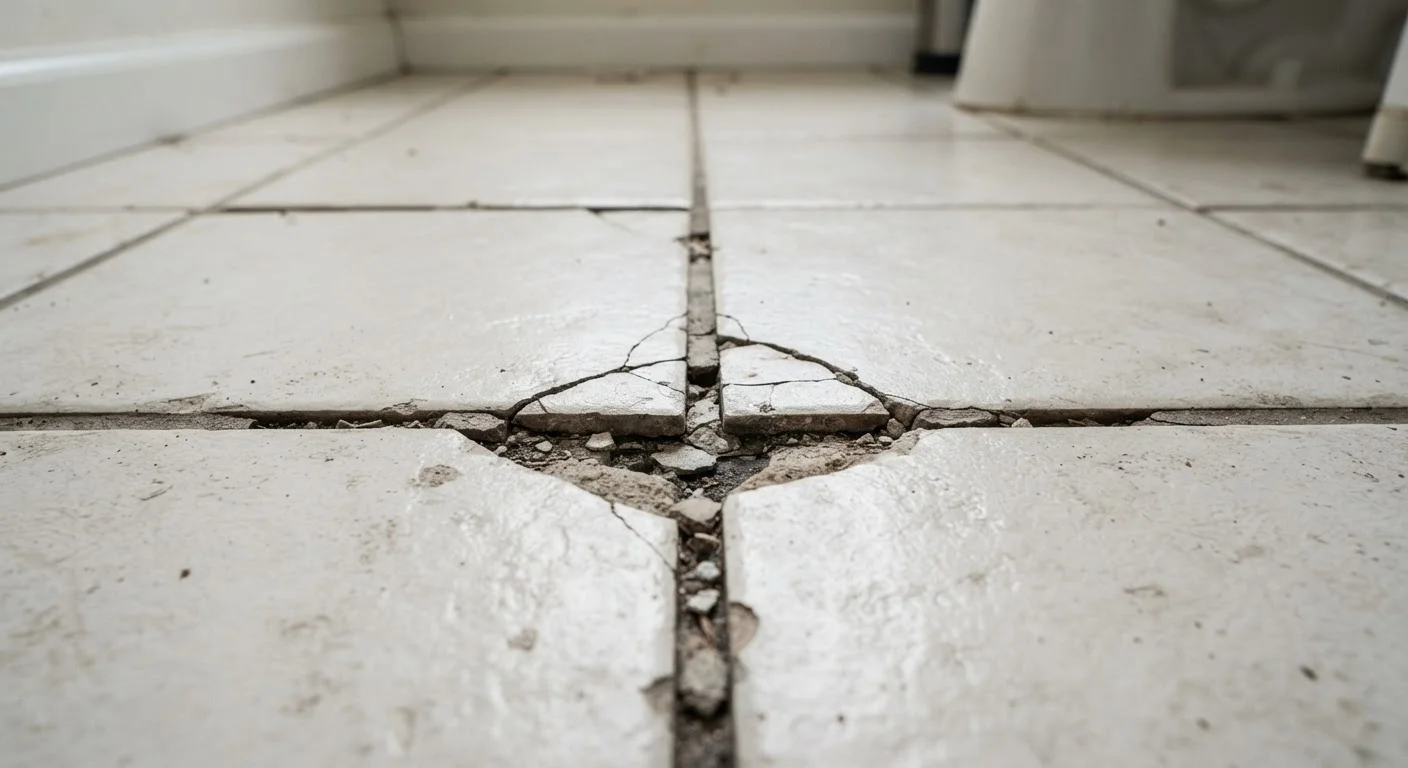
When grout cracks appear - especially the same lines, in the same spots, season after season - it's tempting to scrape them out and refill. But grout itself is not structural; it's a filler material designed to occupy the gaps between tiles while resisting moisture and debris. When it fails repeatedly, the grout is telling you something is wrong elsewhere.
The real culprits are almost always found beneath the surface: in the substrate, the adhesive layer, the mix ratios, or the way the installation was planned. Understanding what's actually driving the cracking is the only path to a repair that holds. This article breaks down the most common mistakes behind recurring grout failure - and what to do instead.
For a broader look at what happens below the tile surface, see our guide to tile flooring installation and substrate prep.
The Most Common Mistakes Behind Cracking Grout
Each of the mistakes below represents a real failure point observed in residential tile installations. Addressing even one of these can make the difference between a patch that lasts two months and a grout repair that holds for years.
Installing tile over a substrate that flexes or deflects under load.
Why it happens: Wood subfloors, especially older ones, have natural give. Homeowners and even some contractors underestimate how much movement transfers through to the tile and grout layer.
Mixing grout too wet or applying it before it's properly hydrated.
Why it happens: Thinner grout is easier to spread, and the urge to speed up the job is understandable. Many DIYers also skip the 'slake time' - the resting period after initial mixing that allows the chemical components to fully activate.
Skipping or incorrectly placing expansion joints at walls, corners, and transitions.
Why it happens: Expansion joints interrupt the visual flow of a tile job, and many installers - especially on small residential projects - omit them to save time or maintain a cleaner look.
Grouting too soon after setting the tile.
Why it happens: Impatience is the primary driver. Thinset or mortar that hasn't fully cured continues to shift slightly as it hardens, and any grout applied during this window will crack as the setting bed moves beneath it.
Using non-sanded grout in wide joints or choosing the wrong grout type for the application.
Why it happens: Grout product labels aren't always intuitive, and many homeowners grab whatever is available without matching it to joint width or location.
Don't Patch Over Hollow or Debonded Tiles
Regrouting over tiles that have lost their adhesive bond is a temporary fix at best. Water will continue to infiltrate the hollow space beneath, accelerating damage to the substrate and potentially causing tiles to crack or lift entirely. If tiles flex or sound hollow when tapped, they need to be reset before any grout repair begins.
How to Diagnose Before You Repair
Before mixing any grout, spend five minutes assessing the situation. Press gently on tiles near the cracked grout lines - if tiles flex, click, or feel hollow, the substrate or adhesive bond is compromised, and regrouting will fail again within months. A hollow sound when tapping tiles with a knuckle or coin indicates a debonded tile, meaning the mortar or mastic beneath has separated.
Check whether cracks follow a pattern. Cracks radiating from corners or running diagonally across multiple tiles often point to structural movement rather than a simple grout issue. Linear cracks along a single joint - especially near walls, cabinets, or transitions between rooms - may indicate a missing or inadequate expansion joint.
~80%
Grout failures linked to substrate or installation error
Industry tile installation professionals broadly estimate that the large majority of premature grout failures trace back to improper substrate preparation or installation technique rather than grout product quality.
1/8"
Joint width threshold for sanded vs. unsanded grout
The Tile Council of North America's installation guidelines use approximately 1/8 inch as the standard dividing point for sanded versus unsanded grout selection.
Once you've identified the root cause, repair the substrate or bond layer first, then regrout using the correct product for your application. Epoxy grout offers superior durability in wet or high-traffic areas; sanded grout suits wider joints; unsanded grout is appropriate for joints under 1/8 inch. Match the grout type to the job, not the leftover bag in the garage.