

Key Takeaways
Why a Room-by-Room Method Reduces Packing Overwhelm
The most common reason people overpack isn't that they own too much - it's that they try to make all their packing decisions simultaneously. Standing in front of an open suitcase with an entire trip's worth of possibilities in your head creates decision fatigue before you've placed a single item.
The room-by-room approach breaks the process into isolated decisions: bathroom first, then closet, then tech area. Each category is finished and closed before you move to the next. This makes it easier to enforce limits, spot redundancy, and avoid the mental loop of "but what if I need it."
For a carry-on to work for a full week, every section of your packing needs to meet a space budget. Overshooting on toiletries means your clothing won't fit; overloading on clothing means your tech is crammed. The steps below walk through each area in sequence. If you want to understand the broader planning choices that make carry-on-only feasible before you start, our article on planning decisions that enable light packing is a useful starting point.
Check Airline Size Limits Before You Pack
Carry-on size restrictions vary by airline and are strictly enforced on some carriers. Verify your specific airline's carry-on dimensions and weight limits before you start packing. A bag that fits one airline's overhead bin may be gate-checked on another. This is especially important on budget carriers and regional connecting flights.
What You'll Need Before You Start
Gather the following before working through the steps. Having everything in one place prevents interruptions that lead to scope creep - the moment you wander back to your bathroom mid-pack is usually when a fourth pair of shoes enters the picture.
What you will need
Packing cubes (set of 3-4)
Compress and organize clothing by category, making it easier to locate items and maintain structure in the bag.
Quart-sized clear resealable bag
Required by TSA to carry all liquids, gels, and aerosols through airport security.
Luggage scale
Confirms your packed bag meets the airline's weight limit before you leave home.
Build Around a Color Palette
Choosing clothing in two or three complementary neutral colors means every top can pair with every bottom, effectively multiplying your outfit options without adding items. This single decision - made before you open your closet - does more work than any packing technique. For more on the planning choices that enable light packing, see our guide on pre-trip planning decisions.
Step-by-Step Packing Instructions
Follow these steps in order. Resist the urge to open your suitcase until Step 5 - physically sequencing the decisions prevents items from "sneaking in" during earlier stages.
Start with your itinerary, not your closet
Before touching any clothing, write out each day of your trip and its primary activity - flights, meetings, hiking, dinners, beach days. Count the number of distinct activity types, not individual days. A seven-day trip with casual days, one nice dinner, and one active day needs three outfit categories, not seven separate outfits.
This single step is where most overpacking decisions get made or avoided. If you skip it, you'll default to packing for every possible scenario, which always overfills a carry-on.
Clear your bathroom counter and edit ruthlessly
Pull every toiletry you currently use onto your bathroom counter. Now eliminate anything you can buy at your destination if you run out - shampoo, conditioner, body wash, and most skincare items are widely available. What remains should be products specific to your routine that aren't easily replaced.
Transfer essentials into travel-sized containers of 3.4 oz or less. Solid alternatives - shampoo bars, solid moisturizer - bypass the liquid rule entirely and take up less space. Fit everything into your single quart-sized bag. If it doesn't close comfortably, something comes out.
Select clothing from your closet by category
Work through your closet in a fixed order: bottoms, tops, layer, shoes, underwear, sleepwear. Assign a count to each before you start selecting:
- Bottoms: 2-3 (pants or skirts that mix with all tops)
- Tops: 4-5 (including one that works for your nicest planned activity)
- Layer: 1 (a lightweight jacket or cardigan that handles cold and dressier occasions)
- Shoes: 2 maximum (wear the bulkier pair on travel day)
- Underwear and socks: one per day, no more
- Sleepwear: 1-2 lightweight pieces
If an item doesn't pair with at least two other items already in your pile, set it aside. For trips with complex climate needs, our guide on packing for multiple climates covers layering strategies in more depth.
Organize your tech and chargers
Tech is the second-biggest source of carry-on clutter after clothing. Lay out every device and cable you're considering. Ask whether you'll use each item at least every other day. A laptop, phone, one pair of earbuds, and the necessary charging cables cover most travelers' genuine needs.
Consolidate chargers where possible - a single multi-port USB-C charger often replaces three separate adapters. Bundle cables with reusable ties rather than loose. If you travel frequently for work, the strategies road warriors use for tech organization may offer additional ideas specific to your setup.
Pack the bag in the correct order
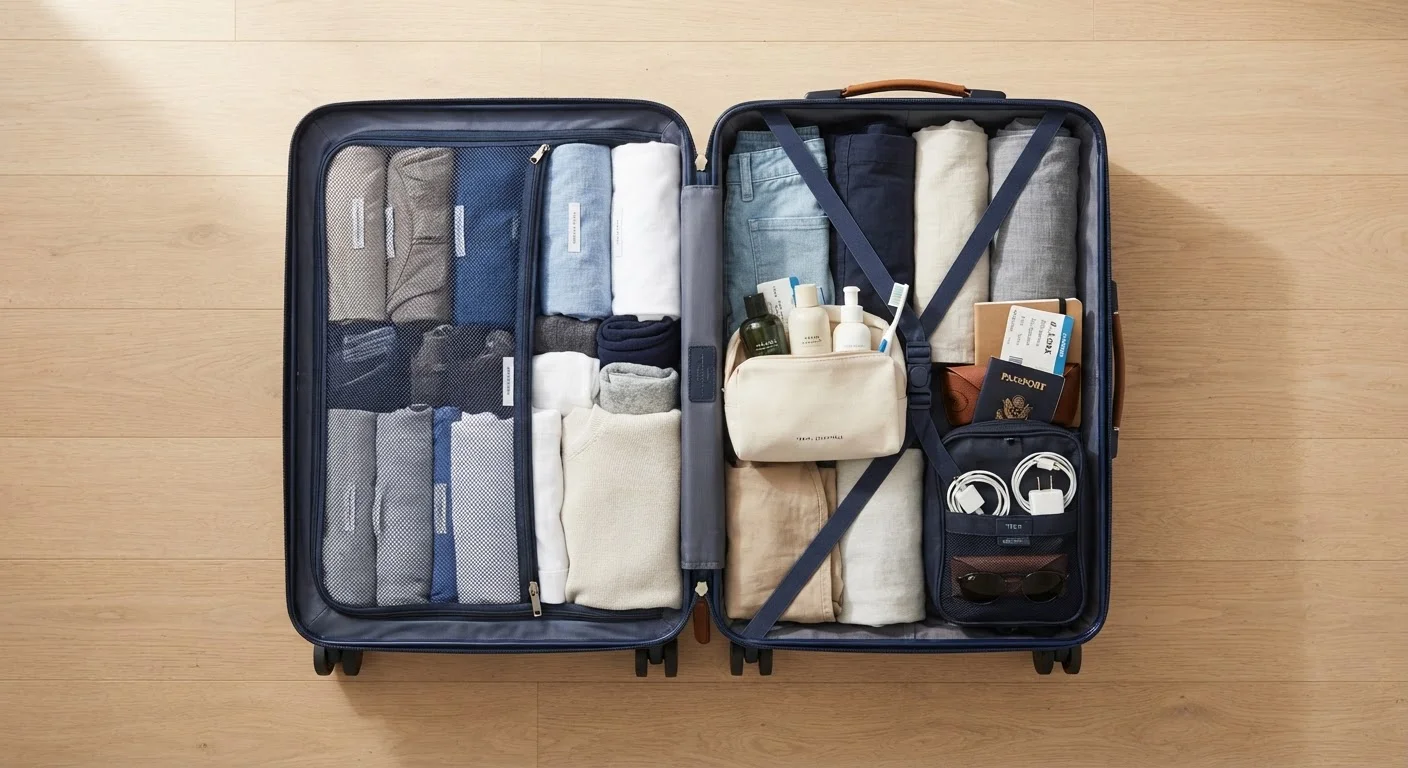
Load your carry-on from heaviest to lightest, bottom to top. Shoes go in first, heels toward the bag's back panel, stuffed with socks to preserve their shape and reclaim dead space. Rolled clothing or packing cubes go in next, packed tightly side by side rather than stacked - this distributes weight and prevents shifting. For a direct comparison of rolling versus folding, see our rolling vs. folding breakdown.
Your toiletry bag and any items you'll need at security or on the plane - quart bag, earbuds, medication - go on top or in the exterior pocket for fast access. Do not overfill to where the zipper strains; a packed bag should close without force.
Do a final weight and size check
Use a luggage scale to weigh the packed bag. Compare against your airline's stated carry-on weight limit - not a general estimate. If you're over the limit, the easiest removals are typically the second pair of shoes (wear them instead), duplicated toiletries, or any clothing item you selected speculatively rather than for a specific planned occasion.
Check the bag's dimensions against your airline's carry-on policy. Soft-sided bags compress slightly and are more forgiving; hard-shell bags need to fit within stated limits exactly. If you're still on the fence about whether carry-on-only is the right call for your specific trip, our carry-on vs. checked bag analysis walks through the real trade-offs.
Liquids Rule Applies to Every Liquid
TSA's 3-1-1 rule requires all liquids, gels, and aerosols to be in containers of 3.4 oz (100 ml) or less, all fitting in one quart-sized clear bag. This includes toothpaste, sunscreen, and contact lens solution. Overfilled toiletry bags are one of the most common reasons carry-ons are pulled for additional screening at security.
After You're Packed: A Few Honest Trade-Offs
Carry-on-only travel works well for most seven-day trips, but it has genuine constraints worth acknowledging. You'll do laundry mid-trip or re-wear items - this is by design, not a failure of planning. Access to hotel laundry or a quick sink wash for lightweight fabrics makes this workable without much disruption.
Some trips genuinely don't suit a carry-on: formal events requiring structured clothing, extended cold-weather travel, or trips where you're moving locations every day without laundry access. The one-bag philosophy guide explores where the minimalist approach makes sense and where it doesn't, which is worth reading if you're deciding whether to commit to this approach long-term. For families, the calculus is different - family packing strategies address the added complexity of packing for multiple people.
The goal isn't to pack the absolute minimum possible - it's to pack deliberately, so that everything in your bag is there for a reason and nothing requires a second trip to the check-in desk.